Repair notches and holes made in wood joists by plumbers. Free advice and method details for filling notches, holes and slots around pipes and wires.
We provide help specific to your floor joists - E Mail us the photographs and we'll cost the materials and guide you through the repair options.
Call for immediate Free Help on: 01626 872886 .
Examples of typical Electrician's and Plumber's notches and holes in joists
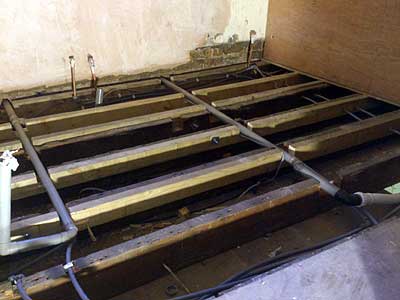
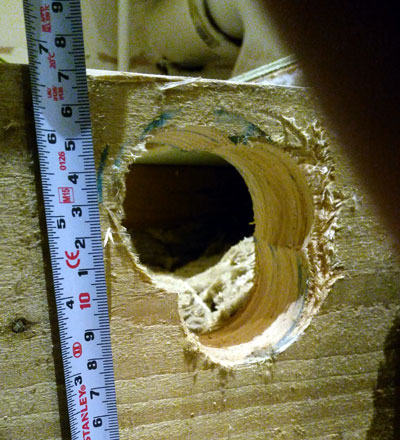
Pipes sitting in large notches in the upper half of the joists Large hole through upper half of a joist.
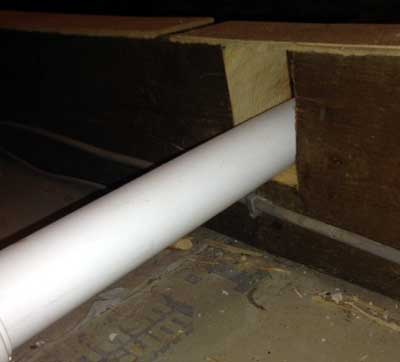
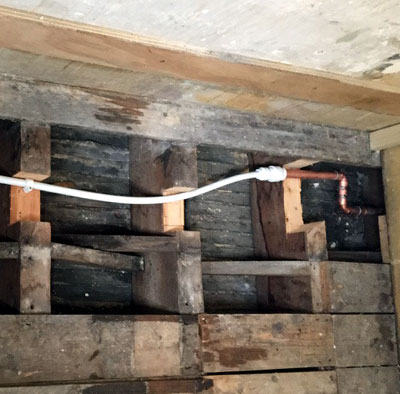
Waste pipe notch extending down below the mid line of the joist. Huge notches cut out of the top of joists for a 15mm diameter pipe.
Why Notches, Holes and Slots can be a strength problem in joists
1. Rules are laid down in the Building Regulations regarding the allowable position of holes and notches, so if you are involved with a Building Inspector you will need to comply with those position rules.
2. Notches and holes above the mid line (or neutral axis) weaken the compression zone of the joist, meaning that the top edge can try to collapse inwards under load.
3. Notches or holes below the mid line weaken the timber in tension, meaning that the joist may open up at the bottom edge under load.
4. Holes and notches, as well as knots, can weaken the joist - the further they are placed away from the support wall and the nearer they are to the middle (the point of maximum bend) the weaker the joist will be under load.
Click here for Free Access to Official Guidelines for joist notching - see Section 2, Diagram 2.1
How to repair Notches and Holes in damaged joists
1. Assuming that the pipes or wires will have to remain in place:
A. Vacuum out all dust
B. Wrap the pipe or wire in a single layer of non sticky plastic, so that it can move inside the repair when it expands and contracts due to changes in temperature
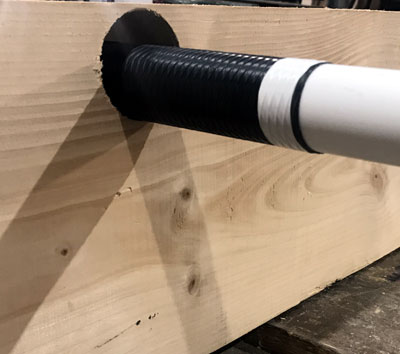
C. Mix up our Mouldable Epoxy Putty and ram it around the plastic covered pipe or wire to completely refill all the spaces. This will provide full compressive strength restoration on its own.
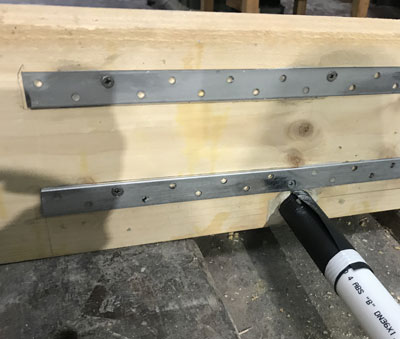
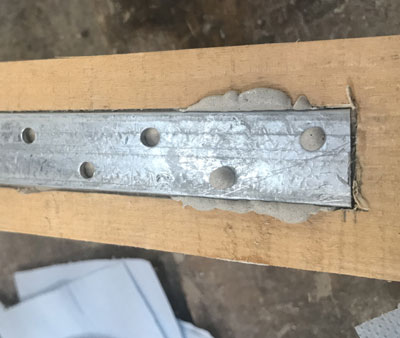
D. Add our Steel Strapping in the top edge of the joist, for top half notches, and in the lowest position available on the two faces for lower half notches or holes. This strapping must be bonded in place, to spread the load along the joist at least 200mm in each direction beyond the edge of the defect. Fix in place using our Epoxy Adhesive Paste using the minimum number of small screws to hold the strap whilst the resin sets. Excessive use of screws or nails can lead to splits along the grain - let the resin do the work.
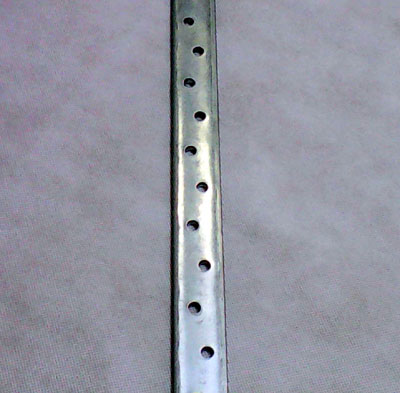
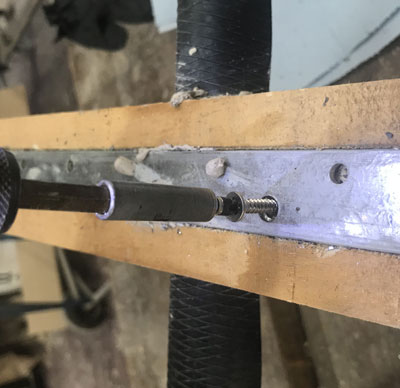
Zinc plated steel strapping = 28mm wide x 2.5mm thick, 6mm holes at 25mm centres
The straps are manufactured in accordance with the BS 5268 Part 3 of the Building Regulations.
Steel straps can be added on the faces of joists or rebated into the top or bottom edges.
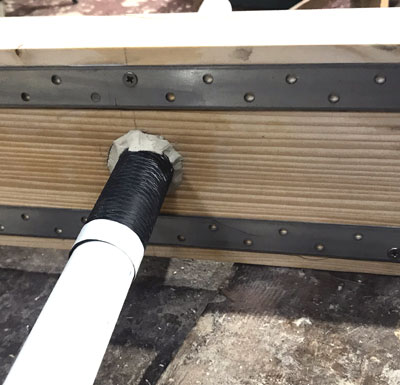
Bottom hole or slot situation, straps in place. Centre hole situation, straps in place.
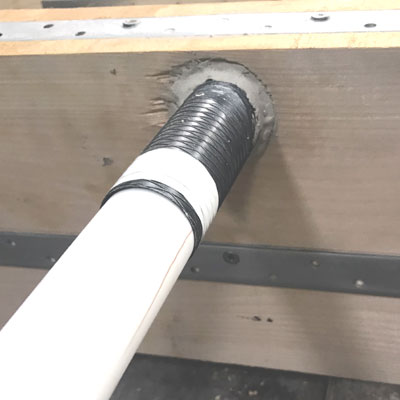
Top hole too close to the joist top edge to allow for a face strap - top edge strap fitted, rebated in slot.
The straps are manufactured in accordance with the BS 5268 Part 3 of the Building Regulations.
2. Assuming that the pipes or wires can be removed:
A. Vacuum out all dust
C. Mix up our Mouldable Epoxy Putty and ram it in to completely refill all the spaces. This will provide full compressive strength restoration on its own. If the spaces are large use undersized pieces of wood as bulk filling, with Mouldable Epoxy Putty used to fill the gaps and provide a permanent bond.
D. Add our Steel Strapping in the top edge of the joist, for top half notches, and in the lowest position available on the two faces for lower half notches or holes. This strapping must be bonded in place, to spread the load along the joist at least 200mm in each direction beyond the edge of the defect. Fix in place using our Epoxy Adhesive Paste using the minimum number of small screws to hold the strap whilst the resin sets. Excessive use of screws or nails can lead to splits along the grain - let the resin do the work.
Products required to repair Notches and Holes in damaged joists
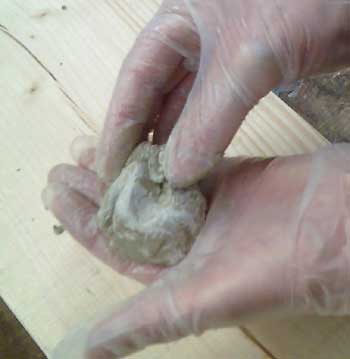
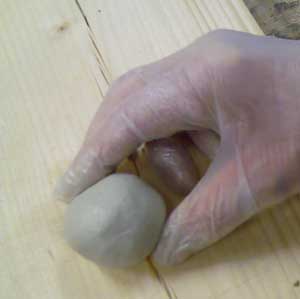
1. Mouldable Epoxy Putty - available in 500cc and 1 litre packs - two part, one to one mix ratio, mix in the gloved hand.
Hand mix the Epoxy Putty in the gloved hand, then ram it into the spaces to make them sound.
2. Steel Strapping - available cut to length - call us to request prices on 01626 872886 . Allow a minimum of 200mm of strapping each side of the outer limits of the notch or hole.
The strapping is fitted along the top or bottom side faces of the joist,
bonded in place using our Epoxy Adhesive Paste - only use the holes for
a few small screws to hold the straps whilst the resin sets. Using too
many screws can split the wood.
The straps are manufactured in accordance with the BS 5268 Part 3 of the Building Regulations.
JOIST REPAIR AND RELATED SHOPS
MEMBRANE FOR DAMP WALLS & FLOORS SHOP
Care of H S Hire, Broadmeadow Industrial Estate,
Teignmouth, TQ14 9AE
T: 01626 872886
Home | Repairs | Bower Beams | Privacy Policy | Returns Policy | Contact
Use any of our Shopping Pages to place goods in your Shopping Cart - they all use the same Shopping Cart system.

Click to view your Shopping Cart
or continue shopping by clicking on one of our Shops below.
OUR CLOSELY RELATED SHOPPING PAGES
OUR OTHER SHOPPING PAGES
Other Property Repair Systems Sites:
www.drywallandfloor.co.uk - membranes for lining damp walls, floors, basements and cellars
www.epoxy-info.co.uk - epoxy resins for repairing wood, concrete, brick and stone
www.fire-door-paint.co.uk - upgrade doors to 30 minutes fire resistance
www.propertyrepairsystems.co.uk - our Home Site
www.steel-fire-paint.co.uk - treat steel with Intumescent Paint to provide fire protection
www.timber.org.uk - systems of repair, with step by step methods
www.timber-repair.co.uk - how to repair timber beams
Site written by: David Moore
David Moore, B.A. (Hons.), C.T.I.S., C.R.D.S. Technical Author
Google+
